How to Build a Custom AR-15 Rifle for Home Defense on a Budget of $800 for Spring 2026
Eight hundred dollars sounds like a tight budget for a serious home defense rifle. It is. But it's doable if you know where to cut corners and where to hold the line. I've built dozens of AR-15s over twenty years—some cost $3,000, some cost $600. The $800 rifle, built smart, will outperform a $2,000 range toy every single time. Here's why: purpose-driven component selection beats brand name spending. You're not building a rifle to impress people at the gun club. You're building a tool to protect your family. That mindset changes everything.
This guide walks you through the exact parts list, assembly process, and decision-making framework I use when building a home defense AR on a tight budget. I'm assuming you have basic tools, zero experience assembling, and the discipline to avoid impulse upgrades. If you can follow instructions, you can build this rifle. No gunsmith required.
Table of Contents
Understanding the $800 Budget Reality
An $800 budget means hard choices. You cannot have a premium receiver set, a top-tier barrel, quality glass, and a name-brand charging handle. You pick three. For home defense, your priorities are: reliability, accuracy to 50 yards, and a usable optic. Everything else is secondary. This isn't about ego—it's about function.
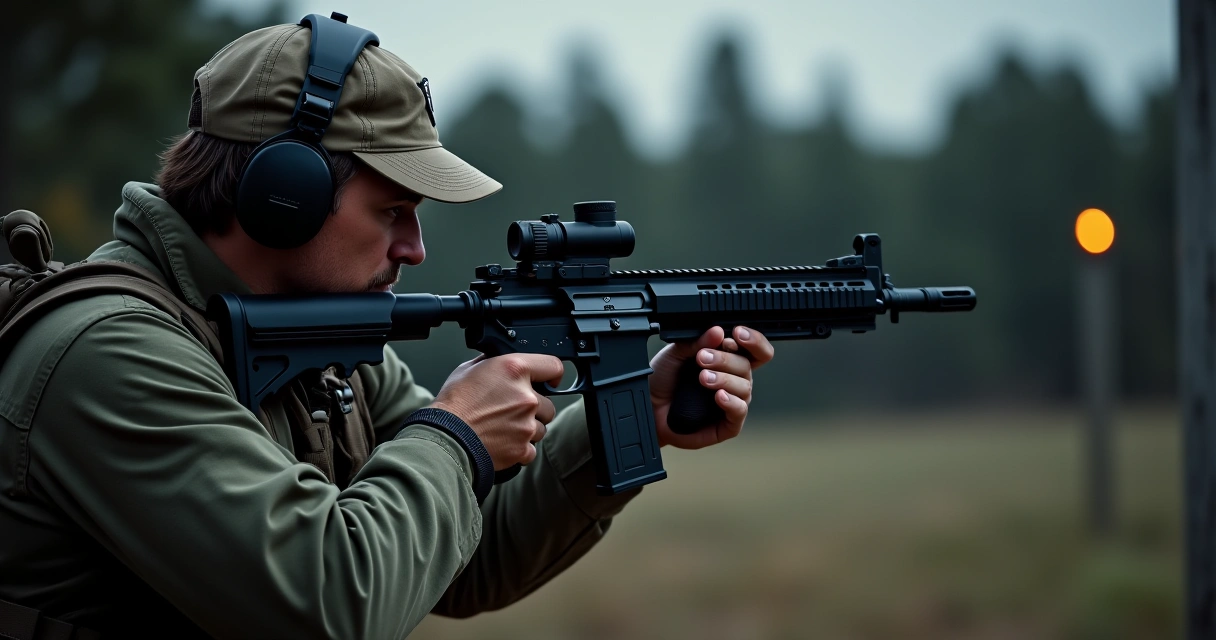
Home defense engagements happen at 7 to 25 yards. This fact matters. You do not need a $500 barrel with match-grade tolerances. You do not need a railed upper with a dozen attachment points. You do not need adjustable gas blocks or premium trigger groups. You need a rifle that functions, runs fast in low light with a light, and prints minute-of-vital-zone at 25 yards. A $150 barrel does that. A $80 optic does that. Spend accordingly.
The $800 budget splits roughly like this: lower receiver and fire control group ($200-250), upper receiver and barrel ($300-350), optic and light ($200), and ammunition for your first 200 rounds of testing ($100-150). Everything else—sling, magazines, cleaning kit—you may already own or can source used.
Core Parts List: Where Your Money Goes
- Stripped Lower Receiver: $80-120 (PSA, Aero, or used Anderson)
- Lower Parts Kit (LPK) with FCG: $60-90 (PSA or Radical Firearms)
- Buffer Tube, Spring, Stock: $50-80 (Mil-spec, basic synthetic stock)
- Upper Receiver (assembled or stripped): $80-140 (Aero or PSA)
- Barrel: $80-150 (16" mid-length, 1:7 or 1:8 twist, .223 Wylde or 5.56)
- Gas Tube & Block: $30-50 (Mil-spec gas tube, standard block)
- Bolt Carrier Group: $70-120 (PSA or Toolcraft)
- Charging Handle: $15-30 (basic mil-spec)
- Handguard: $40-80 (KeyMod or M-LOK free-float)
- Optic: $100-150 (Bushnell TRS-25 red dot or Primary Arms SLx)
- Weapon Light: $50-80 (Streamlight HLX or similar 500-700 lumen)
- Muzzle Brake/Flash Hider: $15-30 (A2 is free if included)
This is not a luxury build. Accept that now. You're not getting a Geissele trigger, a Radian charging handle, or a Trijicon optic. You're getting parts that function within specification. Your trigger will be 5-7 pounds instead of 3.5. Your optic will be decent glass instead of premium. Your light will work for home defense without being a searchlight. This is intentional.
The smart move: buy a PSA or Radical Firearms barreled upper already assembled. You save $80-150 in labor and tooling. Yes, you lose some customization, but at $800 total, you're not customizing—you're assembling. An assembled upper from a reputable maker removes variables and speeds your timeline. For a first build on a budget, this matters.
Lower Receiver Assembly: The Legal Foundation
The lower receiver is the only regulated part of the AR-15. It is also the only part that's purely mechanical and requires minimal gunsmithing skill to assemble. You install a fire control group (trigger, hammer, sear), springs, detent pins, and safety. That's it. If you've built a PC or changed a car battery, you can do this.
Start with a stripped lower receiver. Check it for cracks or casting defects by running your finger along internal surfaces. Install the safety selector and the fire control group using a basic punch set. The lower parts kit comes with instructions—follow them exactly. The critical step: ensure the trigger and hammer pivot pins are fully seated. Do not short-stroke the assembly. This is where most home-built rifles get a malfunction later. Take 30 minutes on this step, not 5.
Install the buffer tube assembly on the back of the lower receiver. Use a wrench and ensure it's tight—this is a high-stress component. Install the stock on the buffer tube. Use the bolt provided. Ensure the stock doesn't rattle. A loose stock is a weak spot in your rifle. Test the trigger press—it should be crisp and reset cleanly. If the trigger binds or feels rough, disassemble and recheck your fire control group installation.
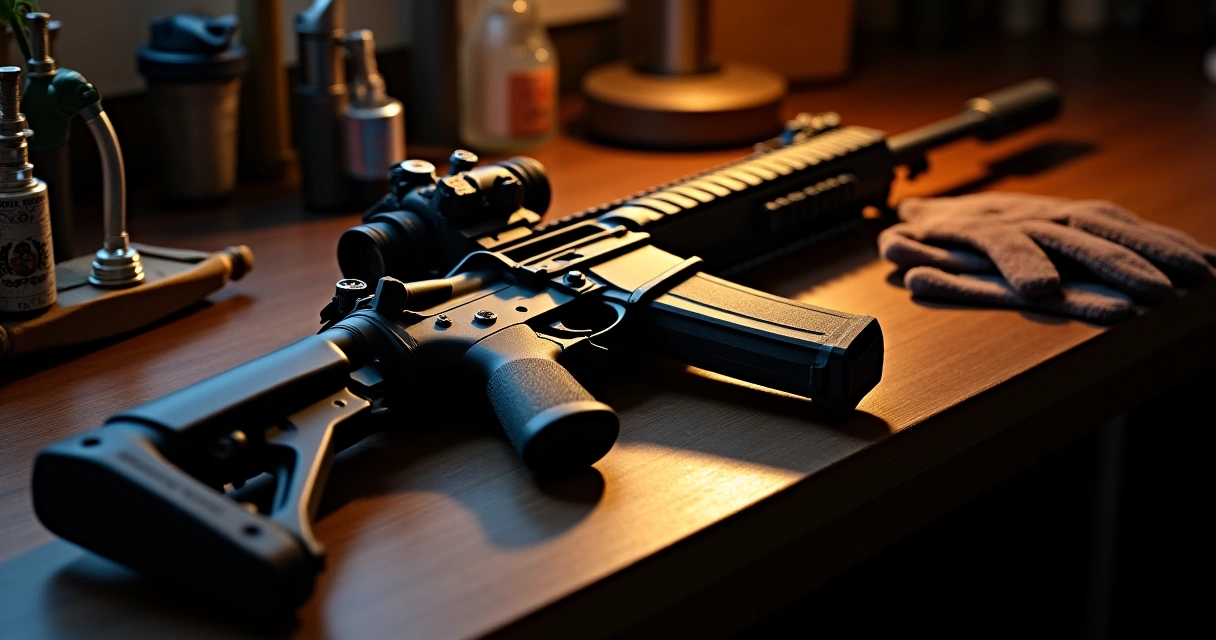
Upper Receiver Assembly: Building the Shooter
If you're buying an assembled barreled upper, your assembly work here is simple: install the bolt carrier group and charging handle into the upper receiver. If you're building from scratch, you need a barrel nut wrench, a headspace gauge (optional but recommended), and patience. For a budget build, I recommend the assembled barreled upper. You save time, reduce error, and gain peace of mind.
Whether assembled or built, here's what happens next: Insert the bolt carrier group into the upper receiver from the rear. Pull the charging handle fully to the rear to seat the bolt carrier. Install the charging handle by sliding it into the channel and twisting the handle down. Ensure it locks tight. Rack the bolt six times without ammunition. The action should be smooth and positive. Any grinding or resistance indicates an issue—stop and investigate.
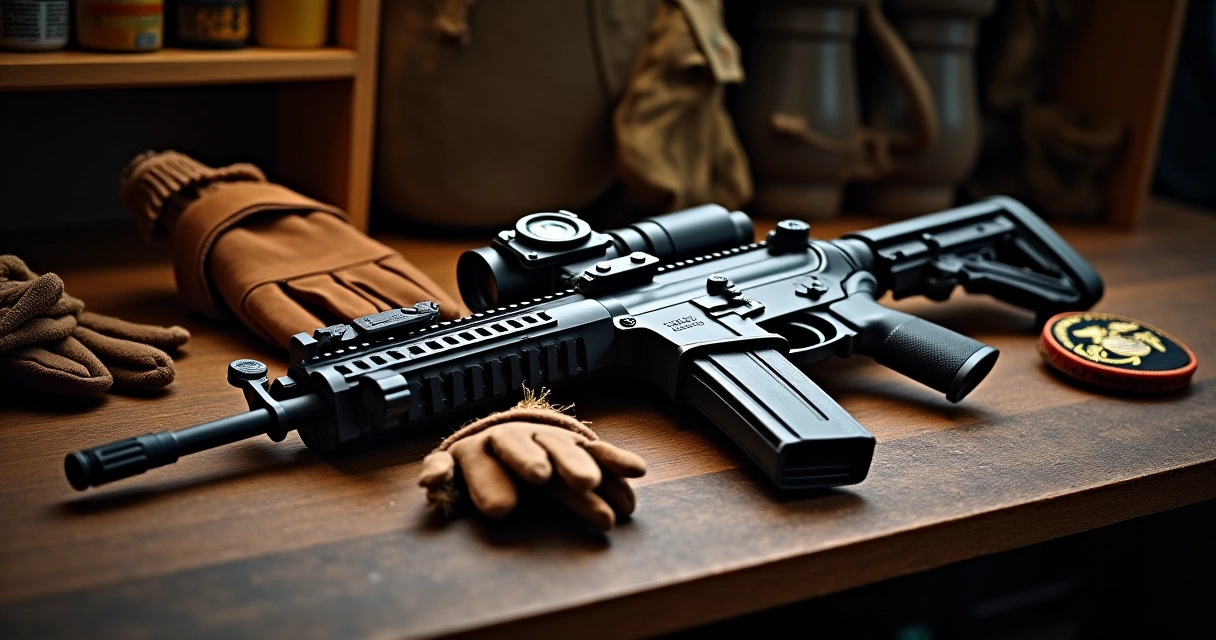
Mount your optic to the upper receiver using a quality mount (Larue, Aero, or Scalarworks level). Your $800 budget means you skip this for now or buy a cheap mount. Plan to upgrade the mount in six months once you've tested the rifle. Mount your weapon light to the handguard using a rail system. Ensure the light is positioned forward enough to illuminate your target without creating shadow under the muzzle.
Install a sling using a Magpul RSA (Rail Sling Attachment) on the handguard and a quick-detach point on the stock. A sling is not optional—it's a manipulation tool that controls the rifle and frees your hands. Budget $30-40 for a quality 2-point sling. Test the sling by securing the rifle to your shoulder with the sling alone. No hands. If it won't stay in battery position, adjust the attachment points.
Tools You Need (And Don't) for Assembly
You do not need a gunsmithing workbench or $500 in specialized tools. You need six things: a lower receiver vise block, a punch set, an armorer's wrench, an open-end wrench set, a flashlight, and a cleaning rod. Total investment: $80-120. This covers every assembly task in this build.
The lower receiver vise block ($25) protects your aluminum receiver from damage. Clamp it in a standard workbench vise. Never clamp the bare receiver. The punch set ($30-40) drives roll pins and detent pins. Buy a real set, not a cheap import set that bends. The armorer's wrench ($40-60) removes and installs barrel nuts. Buy once, use for life. Wrench set ($20) handles buffer tube installation and optic mount hardware.
You do not need a headspace gauge for your first build if you're using an assembled barreled upper. You do not need a reaction rod, barrel vise, or proprietary holding fixture. You do not need a torque wrench if you're careful and methodical. You do not need a spring compressor if you're working with a lower parts kit that's pre-assembled. Budget tooling is sufficient if you work carefully.
Testing, Zero, and Post-Build Verification
You've built the rifle. Do not shoot it yet. Perform a function check first. Clear the rifle completely. Rack the bolt 20 times and listen for any grinding, sticking, or unusual resistance. Press the trigger—it should break cleanly. Release it—the hammer should reset. Cycle the safety selector. It should be firm but not difficult. Insert an empty magazine and press the magazine release—it should eject smoothly. If any of these fail, stop and identify the problem before proceeding to the range.
Load three rounds into a magazine. Fire one round at 7 yards while seated in a supported position. Check for function. No light primer strikes, no
Yes, it's possible to build a functional home defense AR-15 on an $800 budget, but you'll need to prioritize essential components like the lower receiver, barrel, and bolt carrier group while making strategic cuts on accessories. The key is knowing which parts affect reliability and safety versus which are merely convenience upgrades that can wait for future purchases. The lower receiver is the legally regulated part of an AR-15 and should be your quality anchor—invest in a reputable manufacturer even on a budget. Look for properly hardened aluminum lowers with good reviews and reliable warranty support, as this is not the place to compromise since it's the foundation of your entire rifle. The core components are: lower receiver, upper receiver, barrel, bolt carrier group, charging handle, and magazine. These six elements create a functional rifle; everything else like tactical rails, optics, and furniture can be added later as your budget allows. Building your own AR-15 can save $100-$300 compared to pre-assembled rifles and gives you complete knowledge of your firearm's condition and parts quality. However, you'll need basic tools and time; buying pre-built is worth considering if you prioritize convenience over customization and savings. Never compromise on safety-critical components like the barrel, bolt carrier group, and trigger—these directly affect reliability and function. You can save money on ergonomic furniture, handguards, and accessories by choosing basic mil-spec options initially and upgrading them once your budget increases. You'll need basic tools including a punch set, hammer, armorers wrench, and torque wrench for proper assembly of pins and springs. Many builders start with an inexpensive basic tool kit ($30-$50) and upgrade specialized tools like armorers wrenches as they build more rifles.Frequently Asked Questions
Can you actually build a quality AR-15 home defense rifle for $800?
How do I choose the right lower receiver for an AR-15 build?
What are the essential parts I need for a basic AR-15 home defense build?
Is it worth building your own AR-15 or should I just buy one?
How do I know where to cut corners and where to hold the line on budget AR-15 parts?
What tools do I need to assemble an AR-15 lower receiver?